
It’s mid-January and life has returned to normal. The celebrations have been completed and now we get to return some time to the activities that provide motivation and enjoyment to our everyday life. For those of us that love gardening, but live in cold climates where winter makes a solid statement, it is a great time to try a terrarium. Even The Washington Post said so this week!
Let it be known upfront that I AM a plant person, but I AM NOT a craft person. Therefore, I have resolved to keep my distance from certain garden projects that seem too “crafty,” albeit requiring a lot of fine detail work. However, my resolve crumbled. Maybe it’s the gloomy winter skies or just the ubiquity of beautiful terrariums everywhere I go (physically and electronically), but I could no longer resist trying one of these miniature living worlds.
Surprisingly, I found these indoor gardens quite easy to construct! So, if you too feel the need to create something with plants that emphasizes simple, natural beauty, try a terrarium. Here are the basic steps and tools needed to create something lovely!
 First things first, select a container. Terrarium containers must be glass or another clear material so plants inside can absorb light. This could be anything from a mason jar, to a vase, to a cloche and shallow tray. For first timers, it is best to select a vessel with a large enough opening for easy placement of soil and plants. (Don’t start out with a perfume bottle as your first container!)
It is also important to think about where your terrarium will be placed. If you build an ‘open’ terrarium, they can usually take some direct sunlight. However, terrariums that are enclosed (have a glass cover over the top) should not receive any direct sunlight as the temperature inside can quickly rise and “cook” the plants. Place closed terrariums in an area that receives only indirect sunlight.
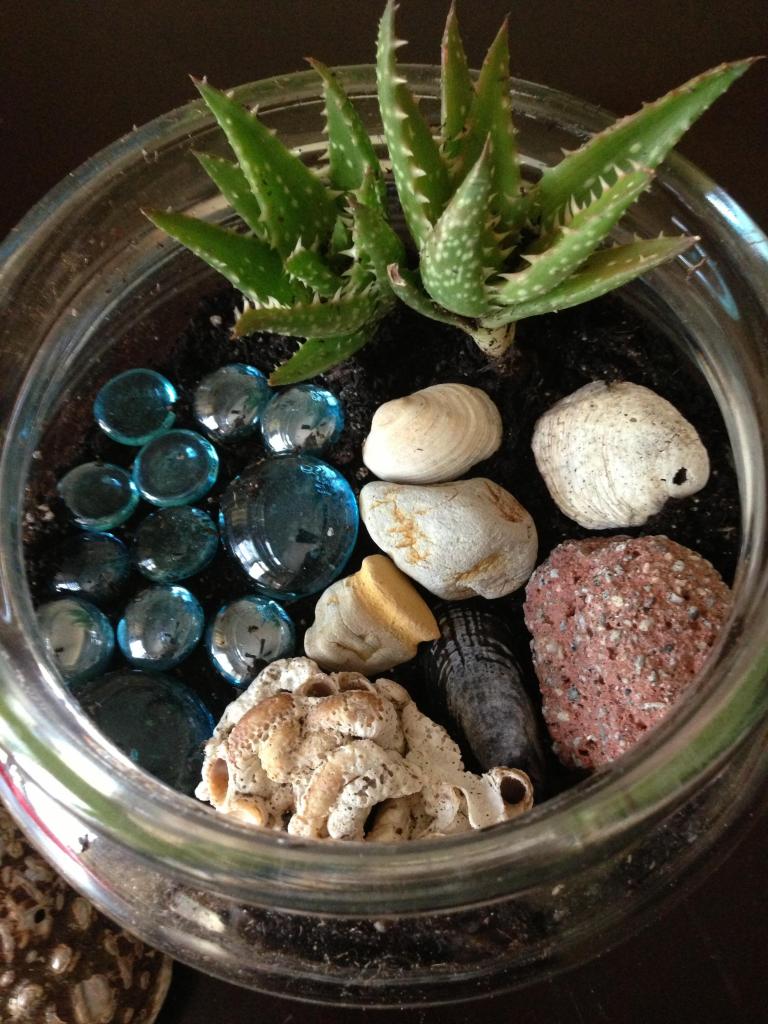
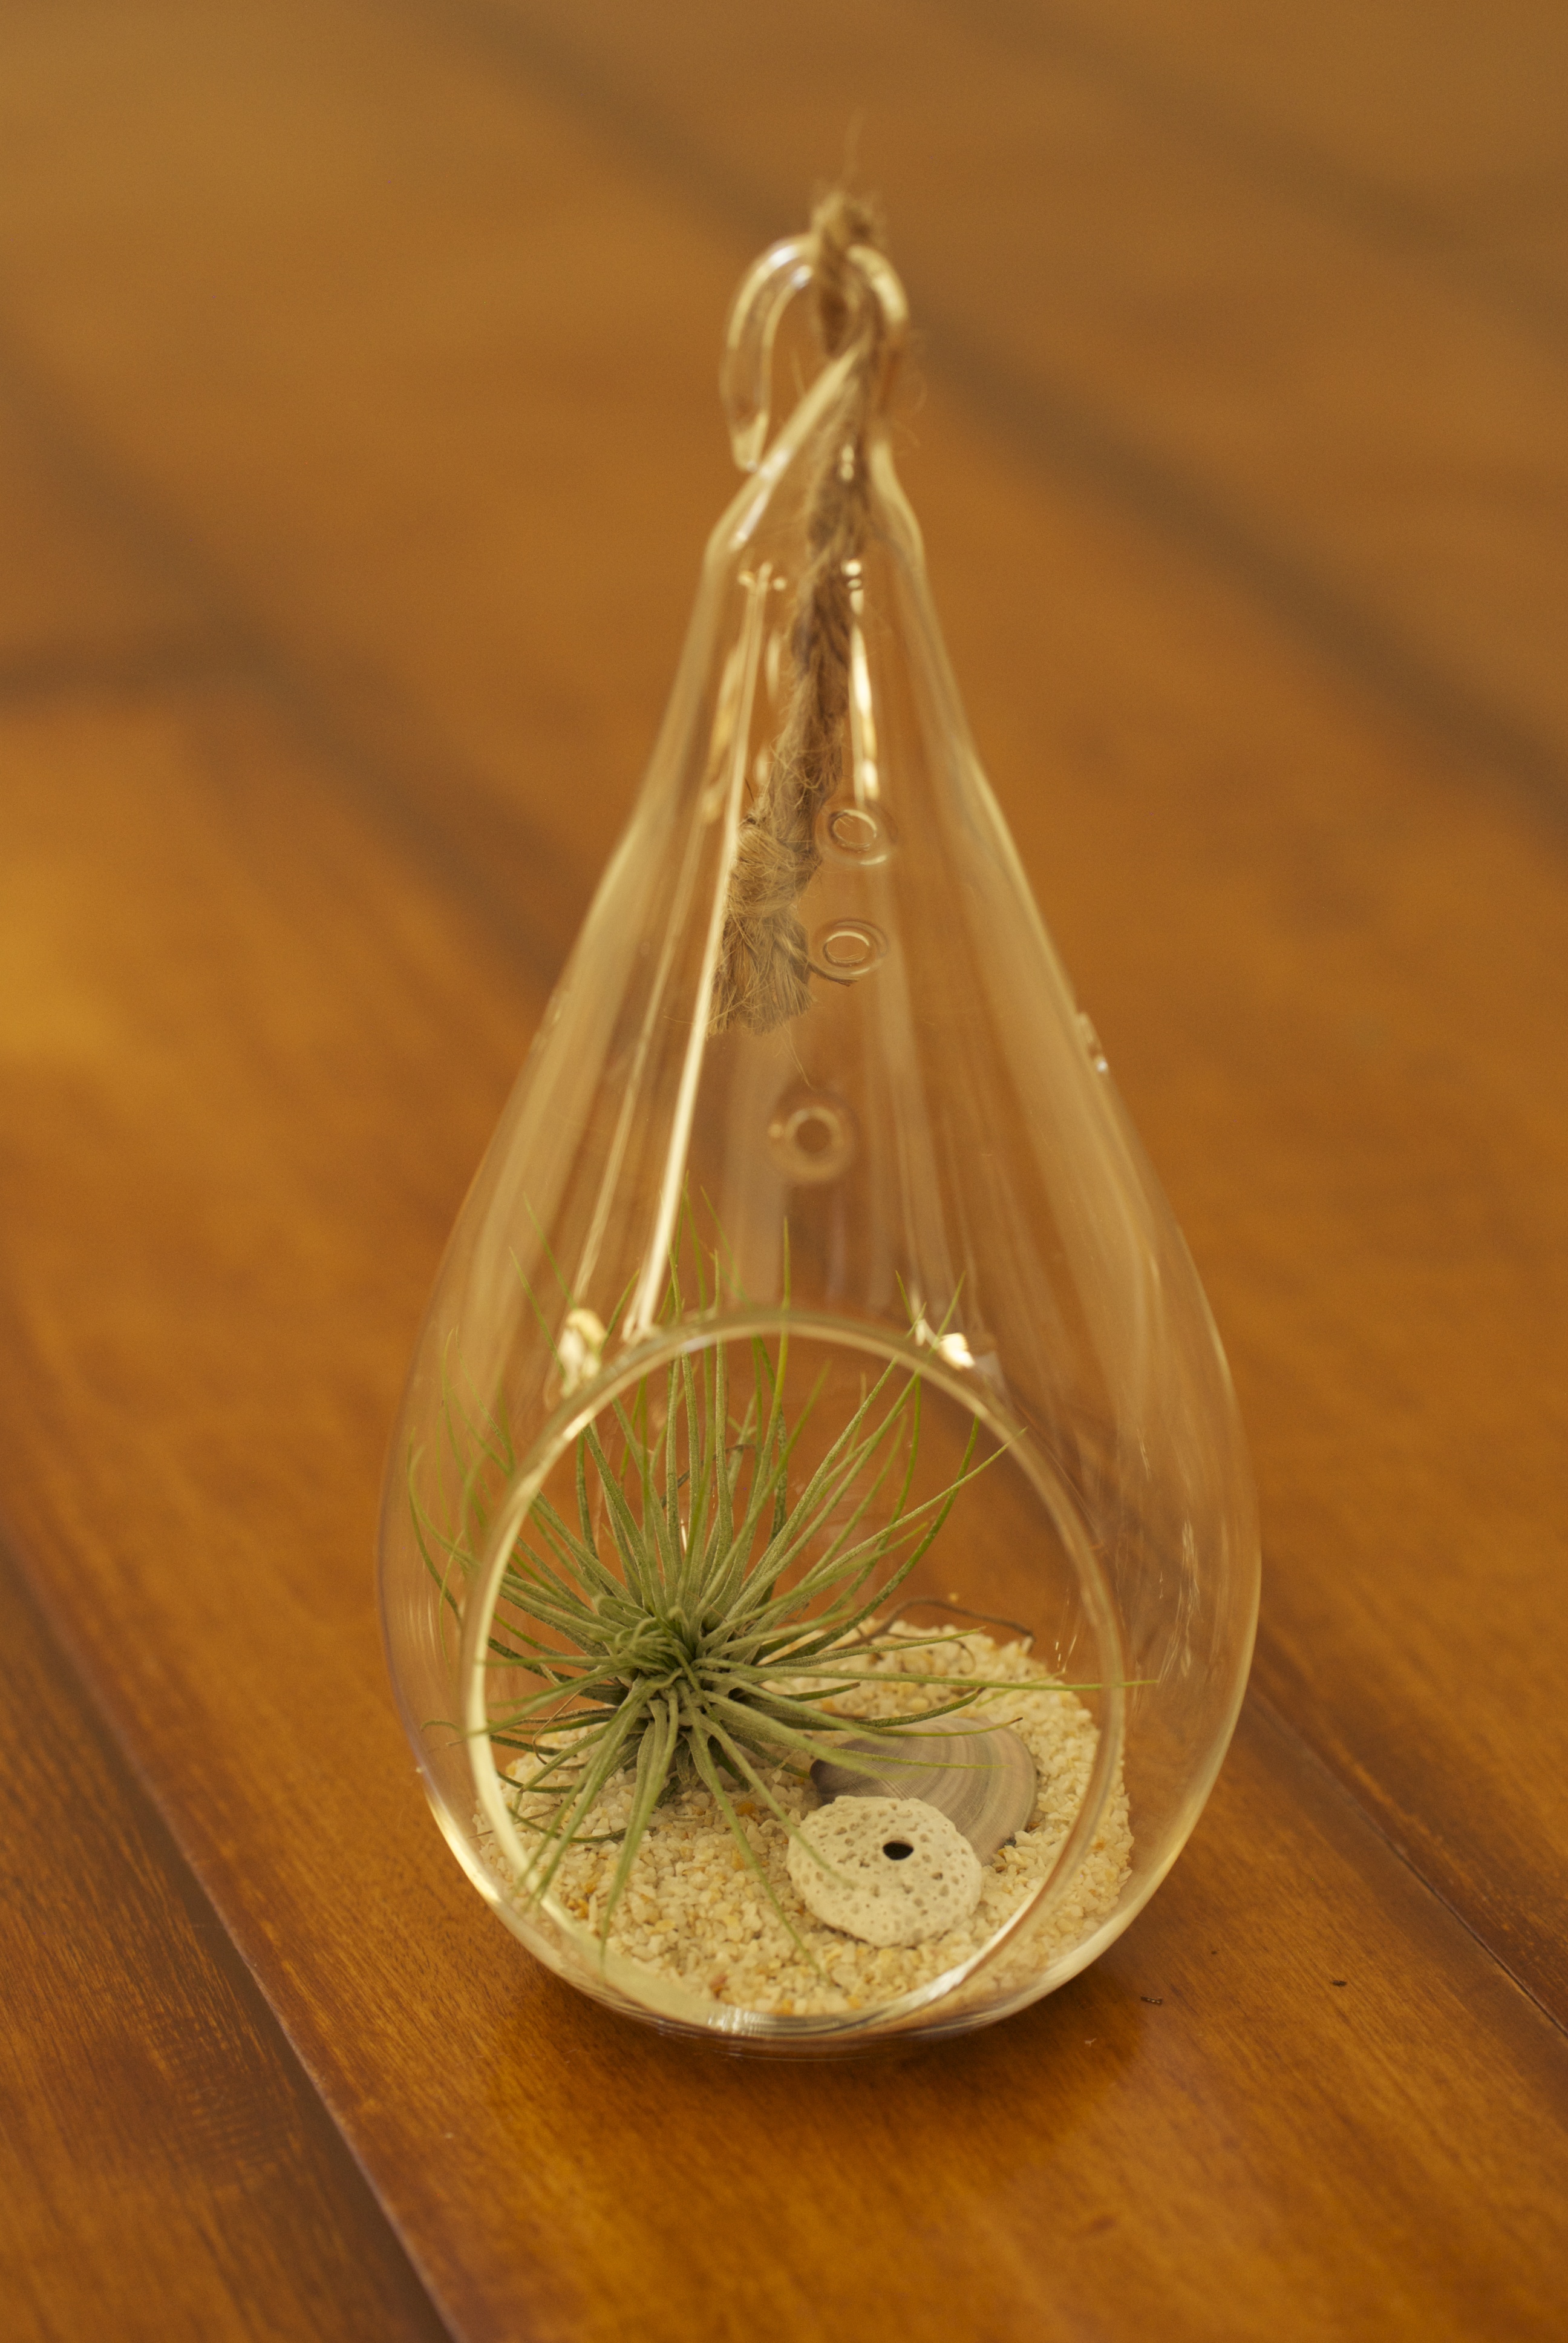
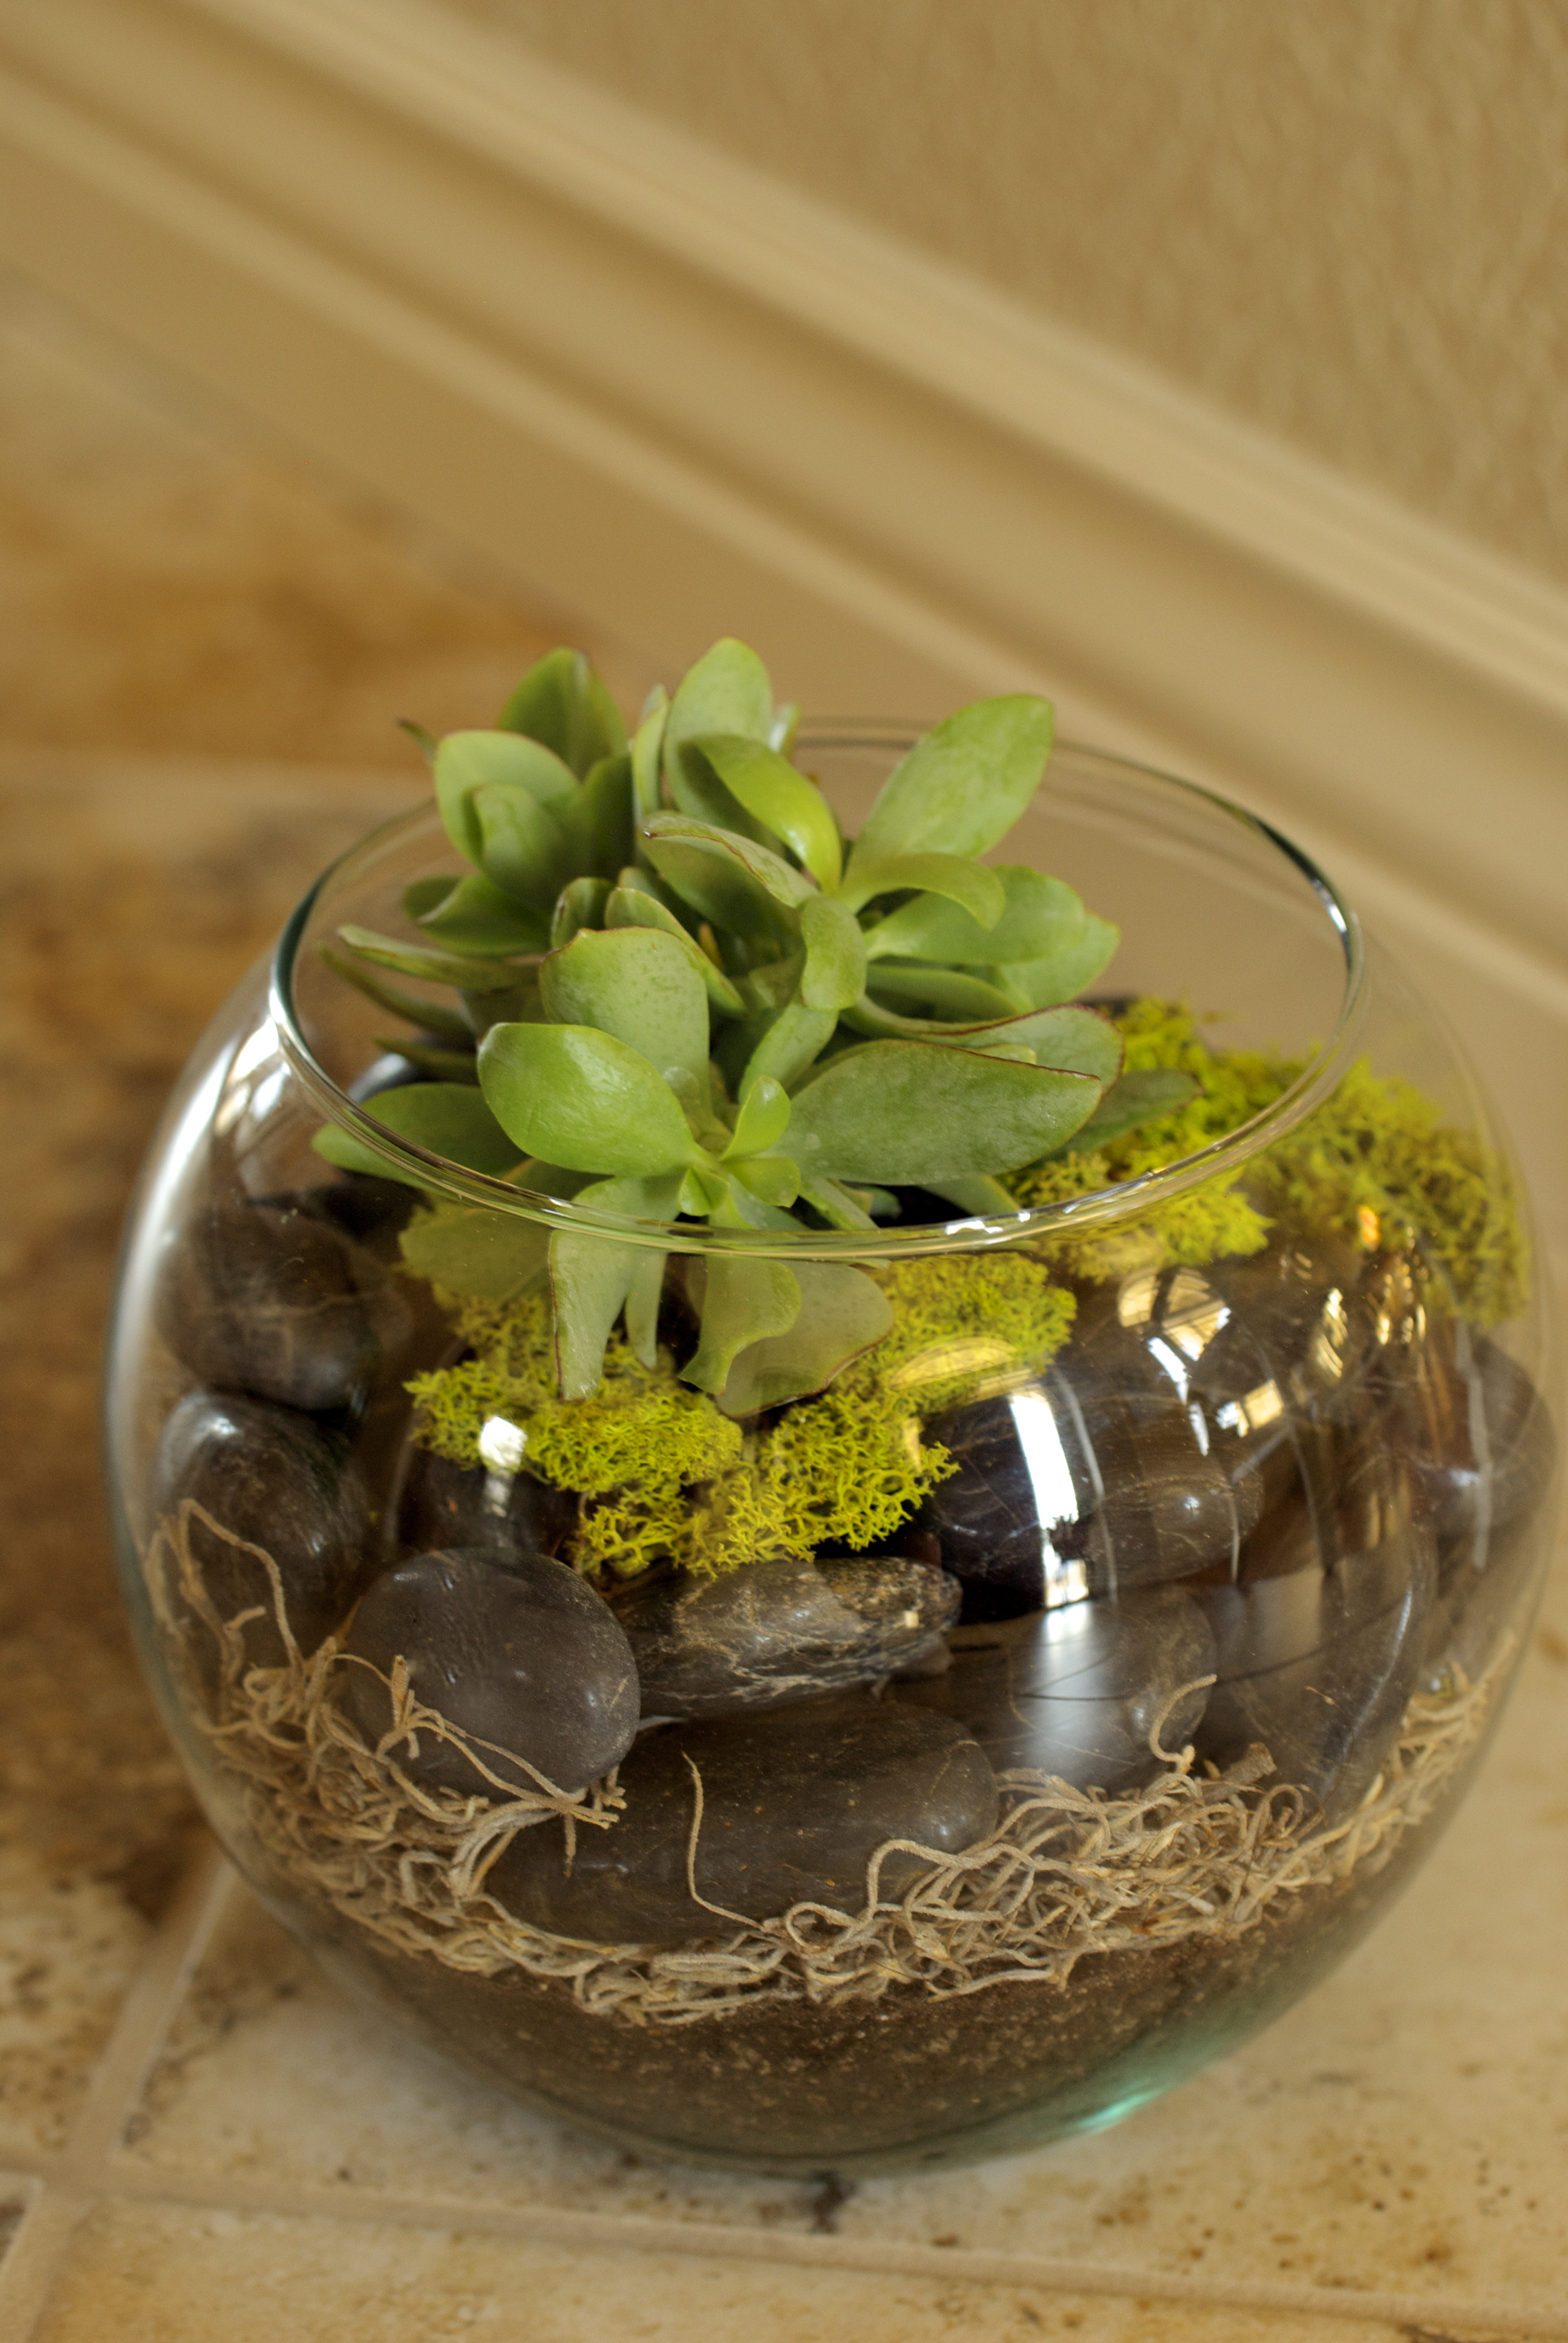
Choose some plants and adornments. Lots of plants are adaptable to terrarium life and some popular choices that are readily available are succulents, cacti, air plants, ferns, small houseplants and mosses. It is important to consider the size of your vessel when selecting plants. Unless you have a really large container, you’ll be looking for plants in 2- to 4- inch pots. If you choose a specimen with a 4” rootball, you will need at least 4” of soil in your terrarium. After selecting plants, think about other embellishments you might want to add. Shells, stones, and sea glass are some of my favorites but there are many possibilities. The perfect doodad(s) for your terrarium may be sitting in a drawer somewhere!

Create a foundation for healthy plant life. Since a terrarium doesn’t have drainage holes, you must create a drainage system to keep plants’ roots healthy. Place a layer of clean gravel on the bottom of your vessel. (Any small, clean stones will work.) The thickness of this layer depends on the size of your container but typically between one and four inches is best. Smaller containers use thinner layers, and vice versa.

The second level of the foundation is horticultural charcoal. The main benefit of adding charcoal is that it absorbs toxins (or chemicals) in the soil, water, and air that can build up in the terrarium and create damage. Charcoal also absorbs unpleasant odors that are a common problem for closed terrariums.
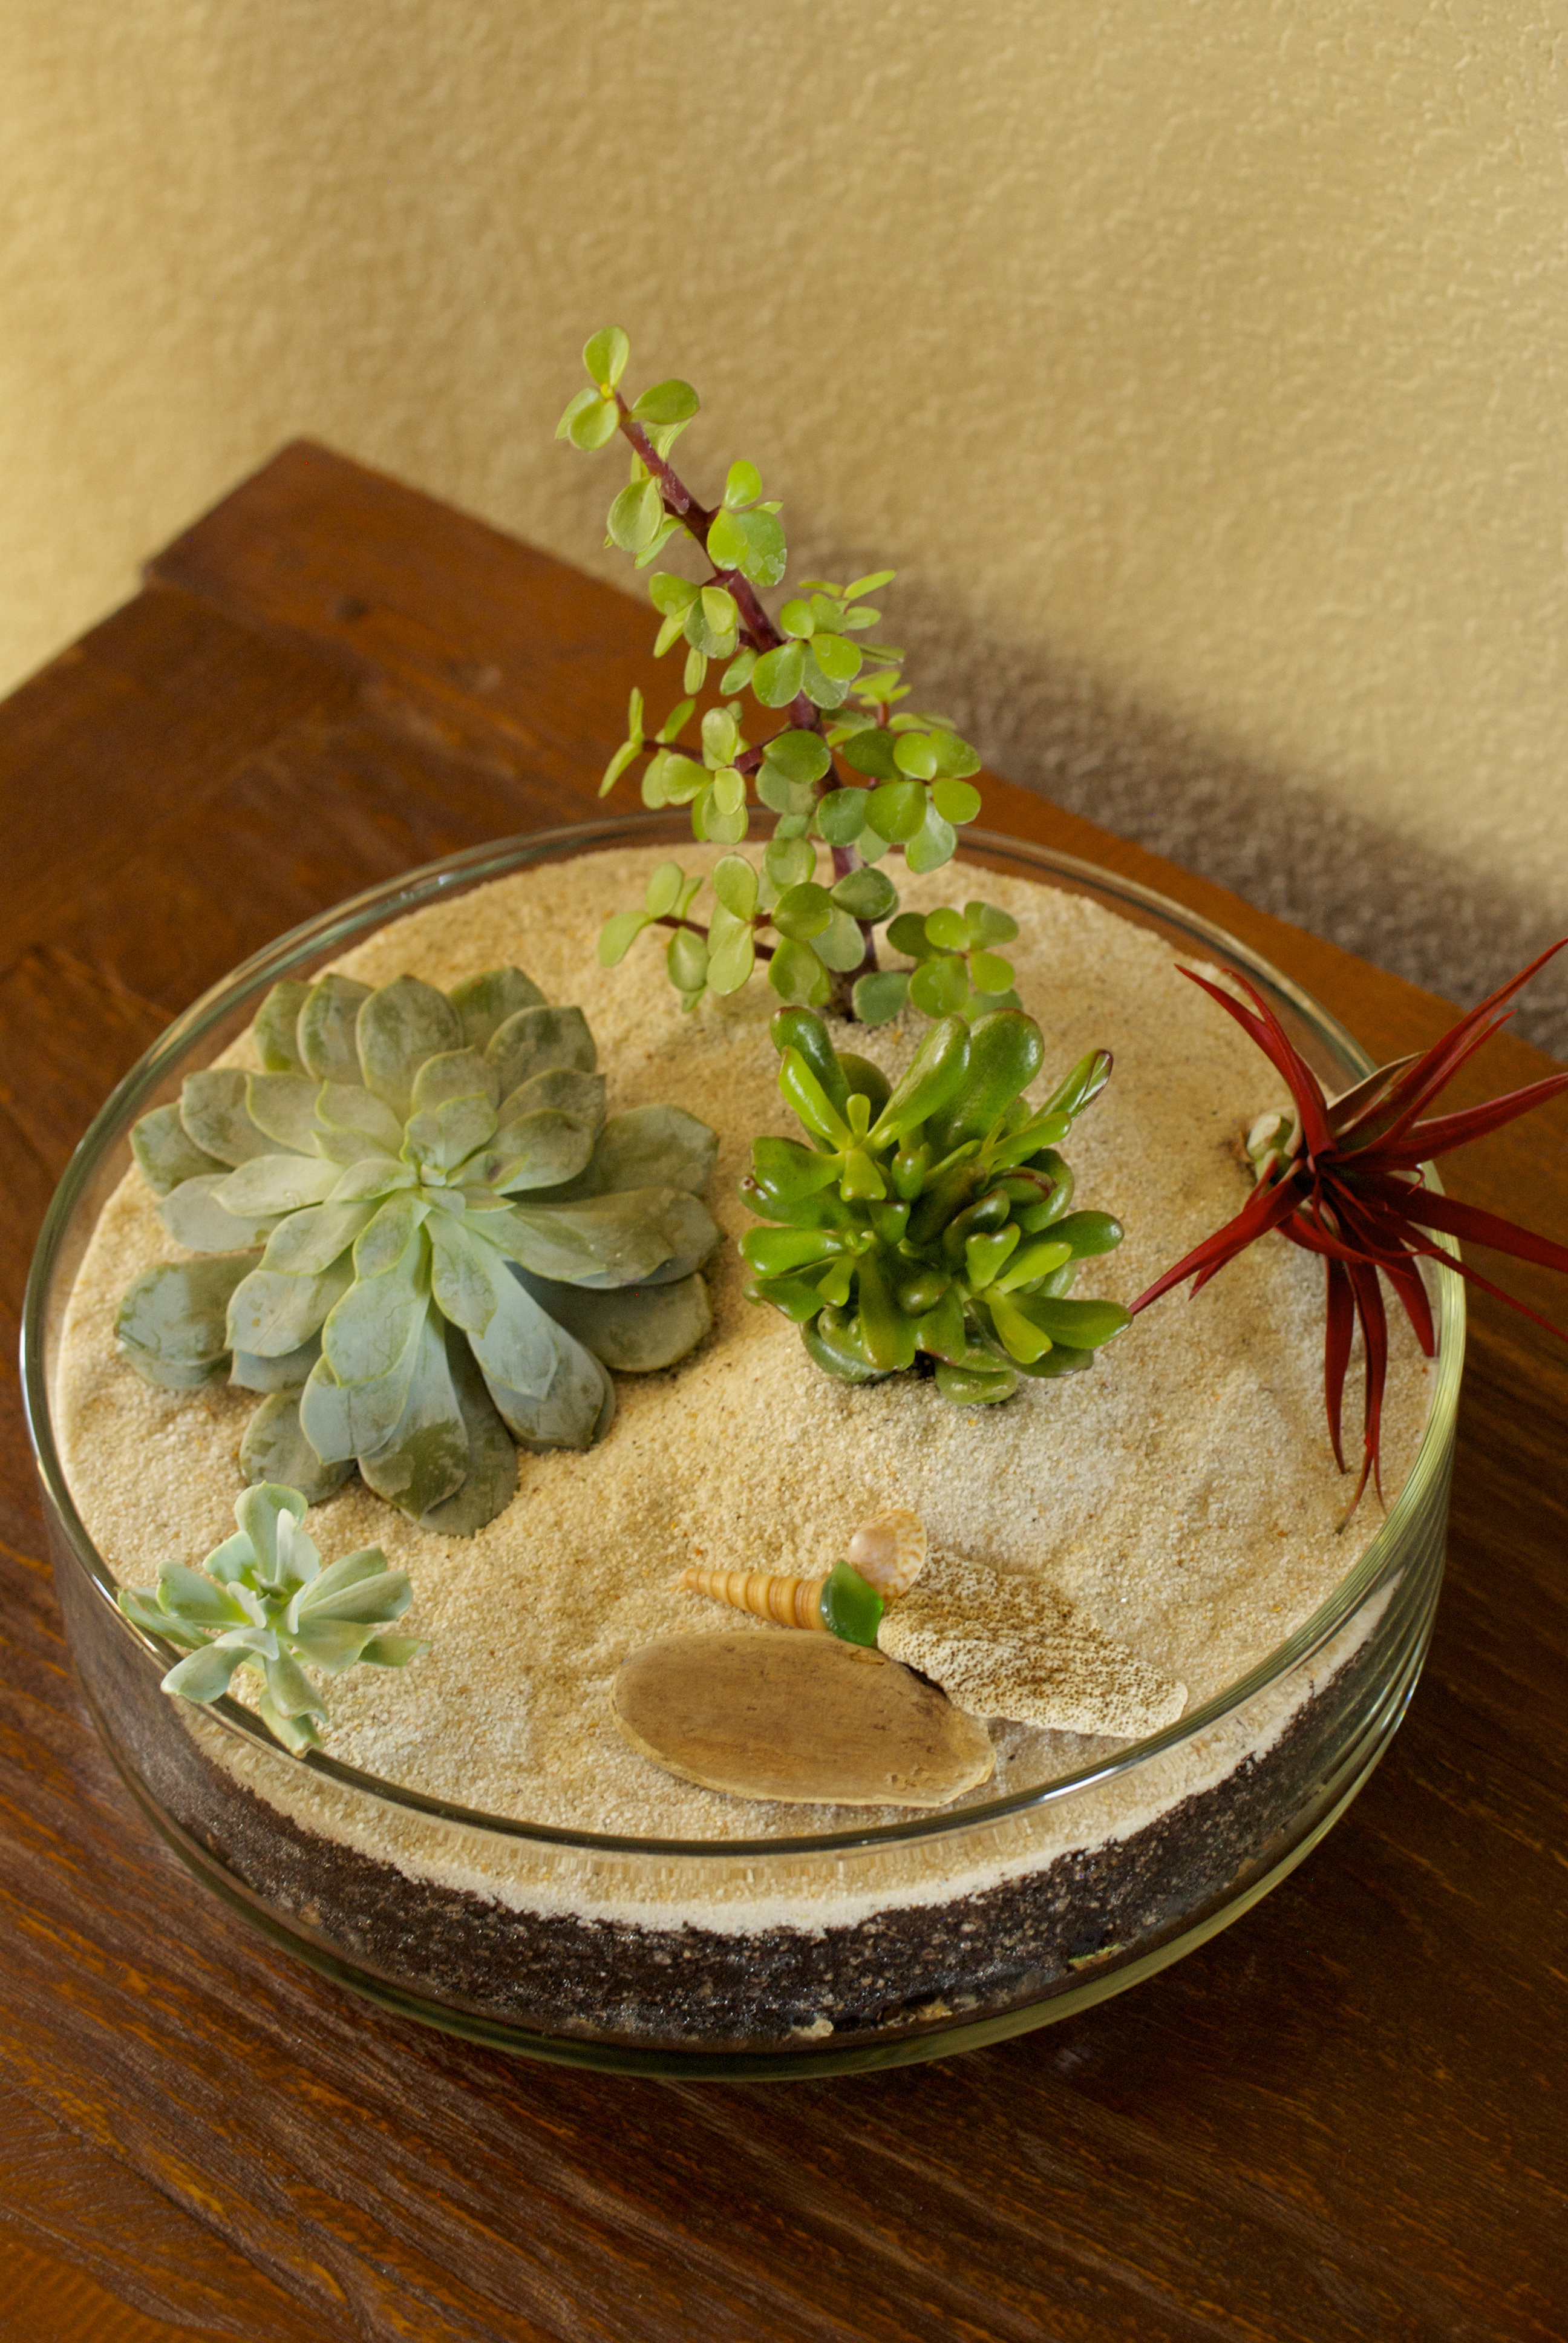
The final layer of the foundation is soil. The type of soil to use depends on the plants of choice. If going with succulents/cacti, use a mix that is specially designed for these plants and is fast draining. If designing with ferns, houseplants, moss, etc… go with a high quality potting soil. (Avoid soils with moisture retaining agents.)
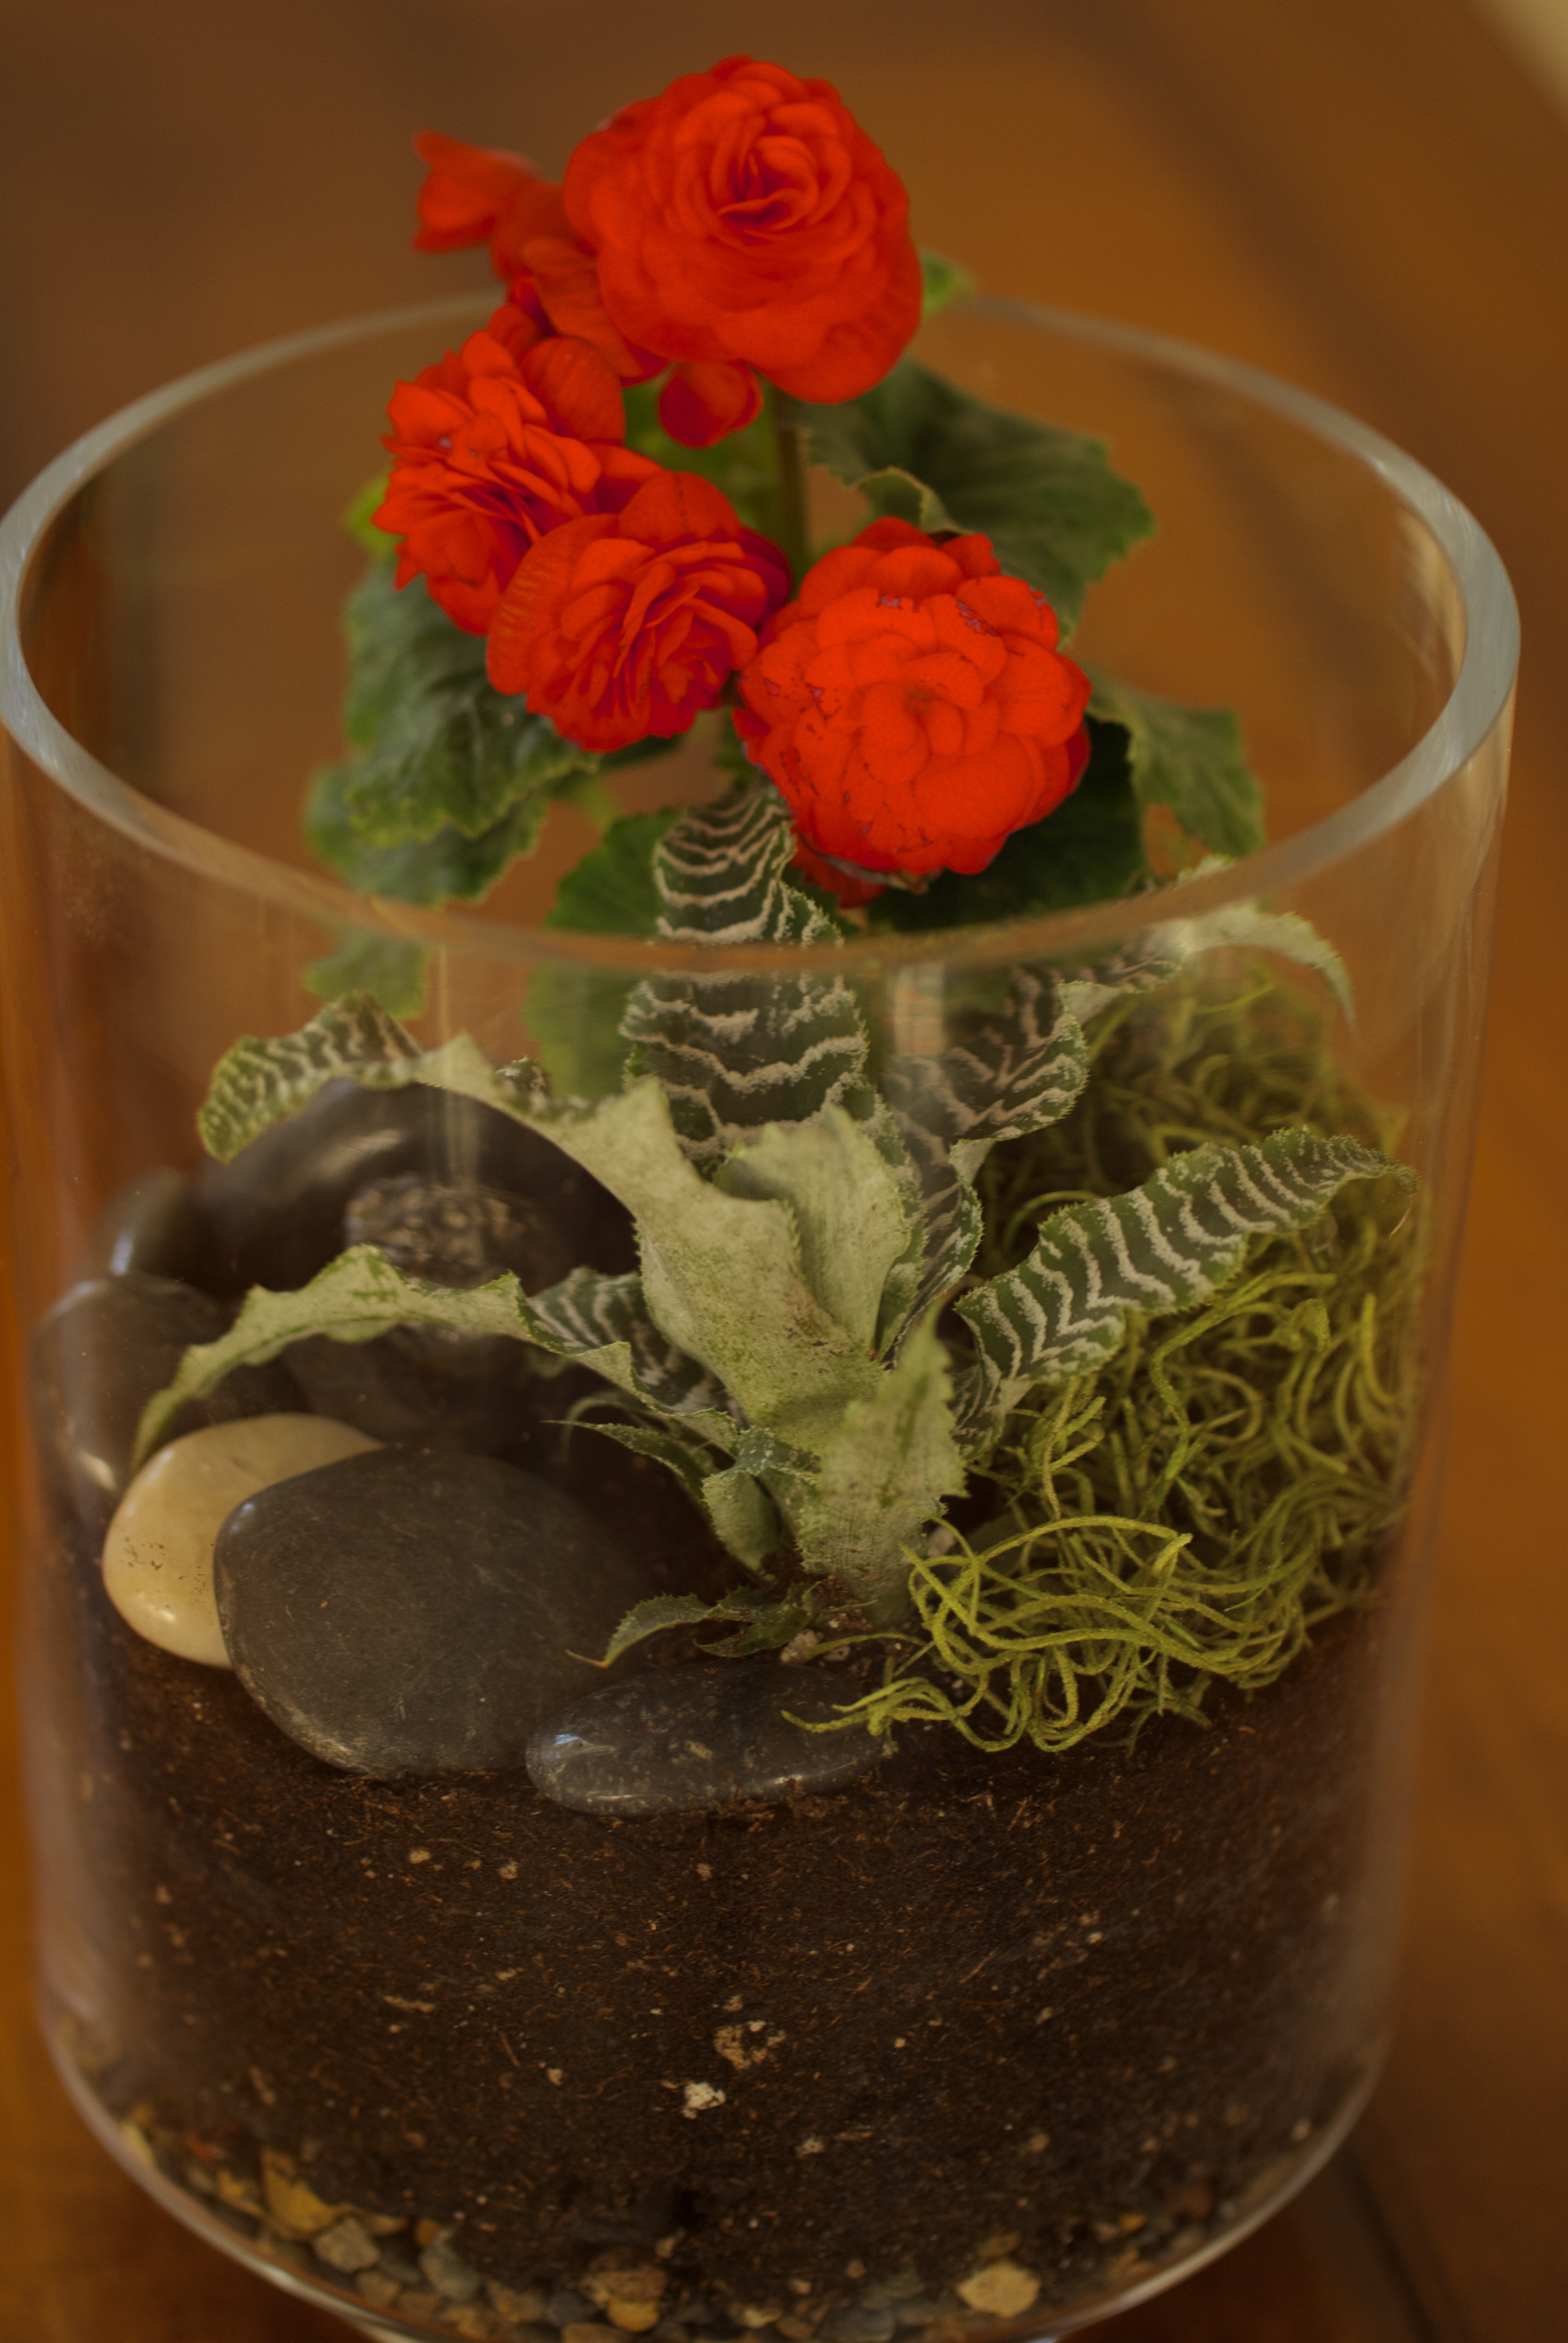 Place the plants and create the scene. Add the amount of soil your plants require to the container. A funnel or small pitcher can be helpful during this step because it allows better control of where the soil is placed and keeps it from splattering up the sides of the container. Next, create a “hole” wherever you want to place a rootball of a plant. Once the plant is set in place, smooth soil around roots keeping the soil level just slightly lower than originally planted, if you plan to add decorative stones or sand on top. If space is tight, use a plastic or wooden spoon to reach into the container and smooth the soil in place.
A good strategy is to place the largest plants first, then add smaller ones with adornments situated last. When fixing embellishments, use chopsticks, an old toothbrush or tweezers to move items in place. Alternatively, you can approach this last step with a bit of a laissez-faire style. Let things fall out of your hands and land where they may as this can result in a more naturalist design. And if you don’t like it, you can always tweak it.
 There are lots of good sources for terrarium design. I liked some of the ideas in “Terrarium Craft” by Amy Bryant Aiello and Kate Bryant.
Tips for Best Results:
- Terrarium containers should be throughly cleaned before use.
- Choose plants that can cohabitate together. They must have the same soil, moisture and light needs.
- Take care of any necessary pruning or grooming (washing/dusting/removing shriveled leaves) before placing in terrarium.
- Inspect all plants for signs of insects or disease before placing. Don’t use unhealthy plants.
Tool Basics:
- Small pitcher or funnel to place soil
- Plastic or wooden spoon to smooth soil around plant in tight spaces
- Sponge paint brush to wipe excess soil or sand particles from side of container
- Small paintbrush to cleanup any excess soil on plants after design is finished
- Baster for watering plants after planted

Well, how funny – only about two hours ago I started thinking about how to plant an indoor garden! Great minds think alike! I probably won’t get round to it in the near future, but this post was wonderful and has inspired me to attempt it at some stage! 🙂
Love this idea!
I made a terrarium with the kids once when visiting friends in the UP. So much great material in the woods there.
So would u say it’s about 20% gravel, then 30% charcoal and the remaining 50% is soil? Will regular potting soil work or did I miss that part?
Ps love the intro pic!
Hi! The bottom layer of gravel should be between 1-4 inches, depending on the size of your container. Smaller containers should have about an inch of gravel while larger ones can handle more. The charcoal just needs to be a thin layer above the gravel. An inch of depth should be plenty. The type of soil you use depends on the types of plants you are planting. Use potting soil for woodland type plants and cactus mix for cacti or succulents. You need a layer of soil as deep as your plant’s root ball. A 2″ rootball requires 2″ of soil to be planted in.
Hi – you’re measurements are great. What is your take on mixing some of the charcoal w/ the soil? I have seen some site promote that too? And are pet stores the only place to buy the activated charcoal? These questions are open to any/all.
THANKS! – taf
I have been wanting to make one of these so maybe I will try this in later winter….thanks for the reminder and great instructions.
We all need a little bit of green in our life and a terrarium is a great way of enjoying it.
They turned out great. When it was such a rave long ago, I made them for a local florist friend, and I agree, they are easy to learn, and very fun to make.